i spent a good part of this weekend working on a sewing project (a dress) and canning my home grown tomatoes. if it weren't the fact that i'm typing away on my computer and listening to music streaming through my cell phone i might actually believe i was living in the 1950's.

prior to this weekend, i had never canned before. i had never even been present to look over someone else's shoulder to watch what they were doing in the canning process. so instead, armed with a book about canning i set up my canning supplies in my kitchen and crossed my fingers.
this past week i harvested 32 lbs of tomatoes. considering they go for about $3/ lb at the local farmers market, that's nearly $100 of tomatoes. i ate plenty of them fresh off the vine, but was still left with more than i could possible eat in a week.
after reading through some canning recipes i decided to make a batch of tomato sauce to can and also just can some tomatoes by themselves. i first attempted the sauce. once the sauce was cooked, i set up my canning pot and another large pot to heat the jars in. i definitely maxed out the capacity of my stove top.
filling the jars was the part i was most nervous about. not having done this before, it felt like there were so many crucial steps involved to make sure that the jars would seal properly and that the contents wouldn't harbor some harmful bacteria. a little botulism is not a good thing to have. i made it through, however, and filled 4 quart jars and 2 pint jars with my sauce. i then submerged the sealed jars in a boiling pot of water for 40 minutes. after that, i lifted them out of the water and set them on the counter to cool overnight. soon after pulling them out of the water, i heard the reassuring sound of the lids sealing into place.

the next day i attempted canning just plain, peeled tomatoes. the canning book said to pack the tomatoes tightly in the jar and then fill the jar with boiling water up to 1/2 inch from the top. i thought i was packing them in tight, however, once the canning process was over, it was apparent that i didn't get them in tightly enough. my jars of tomatoes looked more like specimens in a biology lab. not very appetizing. so i decided to try it again, this time packing more tomatoes in the jars. my first attempt yielded 5 pint jars, the second attempt, i got them all in just 2 pint jars. they looked much better the second time around. lesson learned.

in all i think it was successful, but i guess i won't really know until i go to open one of the jars. the lids all feel like they are securely attached, so i'm hopeful. i will say that it definitely heats up the kitchen having all those pots of boiling water going. maybe not the smartest thing to do on a hot summer weekend - my cats sure languished in the heat.
 may 1
may 1 may 8
may 8  may 15
 may 22
 may 30
 jun 7
jun 7 jun 12
 jun 19
 jul 11
 jul 18
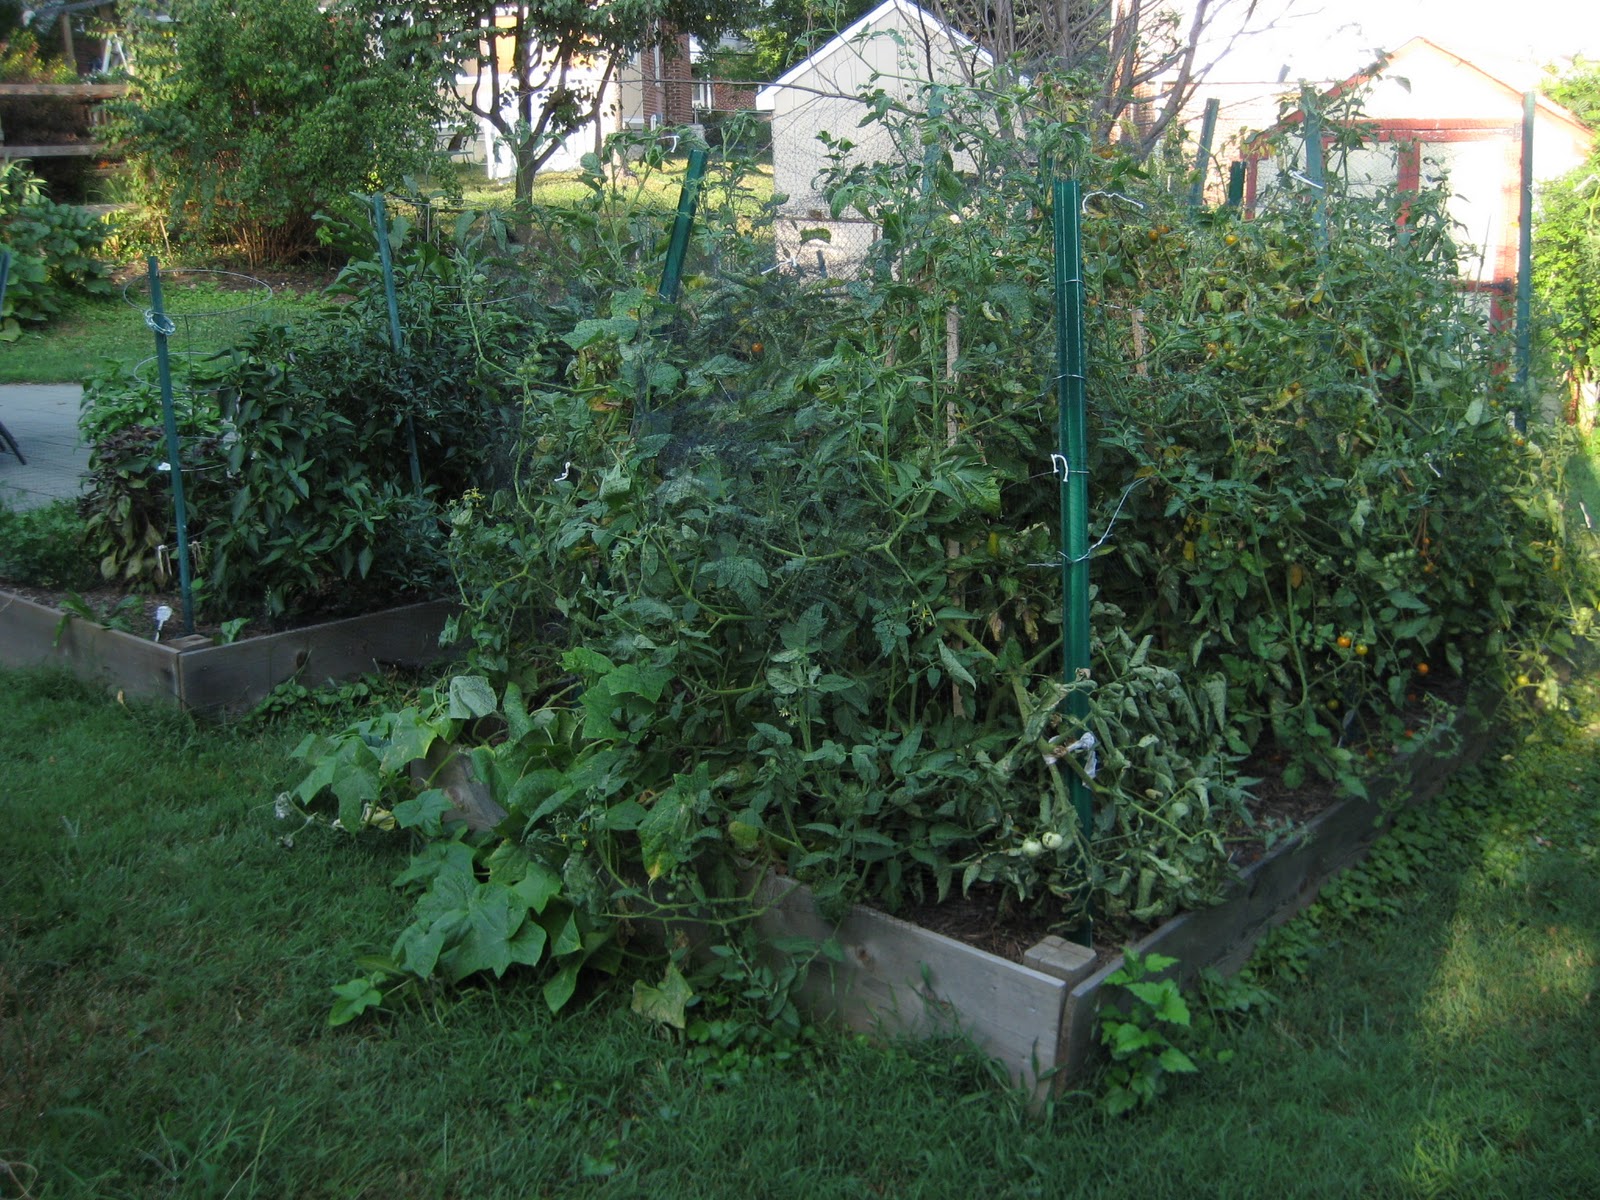 jul 30
 aug 16
 aug 21
 aug 28
 sep 4
sep 4 nov 5
nov 5 nov 6
nov 6


